Basic rules and principles for residential plumbing installations are crucial for ensuring the safety, efficiency, and longevity of the plumbing system.
Key aspects:
- Compliance with Codes and Regulations: Plumbing installations must adhere to local building codes and regulations. These codes outline standards for material use, pipe sizes, fixture placements, and more, ensuring safe and effective plumbing systems.
- Water Supply and Drainage Systems: The design should include a proper water supply system and a drainage system. The water supply system should ensure adequate water pressure and flow, while the drainage system should effectively remove waste and prevent clogs and backups.
- Proper Ventilation: Vents are essential for regulating air pressure in the plumbing system, preventing traps from being siphoned and allowing wastewater gases to escape.
- Slope of Drain Pipes: Drain pipes must have a proper slope (usually a minimum of 1/4 inch per foot) to ensure gravity-assisted flow of wastewater, avoiding stagnation and blockages.
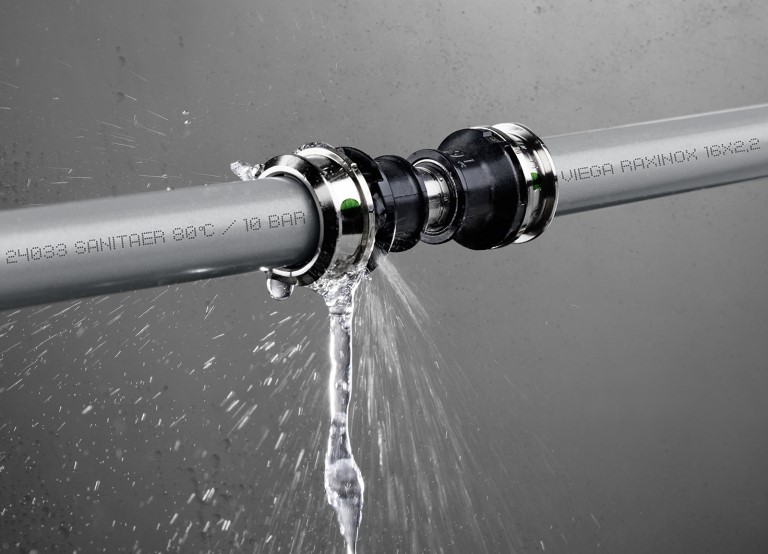
- Waterproofing and Leak Prevention: All installations should be watertight, with careful attention to joints and connections. This prevents leaks, which can cause structural damage and mold growth.
- Access for Maintenance: Plumbing systems should be designed with access panels or other means to facilitate inspection, maintenance, and repairs.
- Material Quality and Durability: Using high-quality, durable materials for pipes, fixtures, and fittings extends the life of the plumbing system and reduces the need for frequent repairs.
- Energy and Water Efficiency: Incorporating energy-efficient appliances and fixtures (like low-flow toilets and showerheads) can significantly reduce water and energy consumption.
- Isolation Valves: Installing isolation valves at key points allows for easy maintenance and repair without having to shut off the water supply to the entire house.
- Thermal Insulation: Insulating pipes, especially hot water pipes and those in unheated spaces, prevents heat loss and freezing in cold weather.
- Proper Fixture Installation: Fixtures should be securely mounted and connected, with attention to manufacturer guidelines and ergonomic placement for user comfort.
- Cross-Connection Control: Preventing cross-connections between potable water and contaminants is crucial. This involves using backflow prevention devices where necessary.
- Expansion Tanks and Pressure Relief: In closed systems, especially where there’s a risk of thermal expansion (in water heaters, for instance), expansion tanks and pressure relief valves are essential to prevent pipe damage.
- Noise Reduction: Pipe layouts and materials should be selected to minimize noise from water flow and thermal expansion.
- Emergency Preparedness: Systems should include features for quick response in emergencies, like main shutoff valves easily accessible to homeowners.
Following these principles ensures a safe, efficient, and long-lasting residential plumbing system. Regular maintenance and inspections are also key to detecting and addressing issues early.
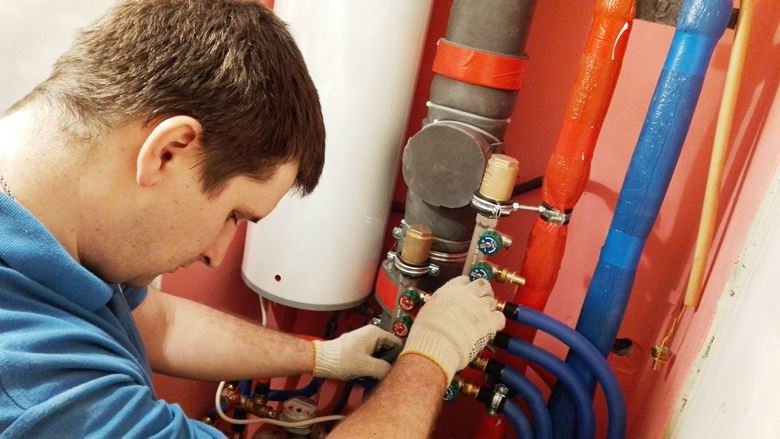
Plumbing in the bathroom and in the toilet – how do I do it the right way?
Plumbing in bathrooms and toilets requires careful planning and execution to ensure functionality, hygiene, and compliance with building codes.
Doing it right:
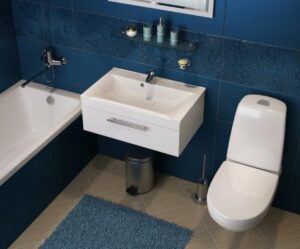
Bathroom Plumbing
-
- Layout Planning: Consider the placement of fixtures such as the sink, bathtub, shower, and toilet. Ensure there’s enough space for movement and that the layout conforms to building codes.
- Water Supply Lines: Install separate hot and cold water lines for the sink, shower, and bathtub. Use appropriate pipe materials (like copper, PEX, or PVC) and ensure they are sized correctly according to the flow rate requirements of each fixture.
-
-
- Ensure the drain pipes are properly sized and sloped (typically a minimum of 1/4 inch per foot slope) for effective drainage.
- Include P-traps for each fixture to prevent sewer gases from entering the bathroom.
- Vent pipes should be installed and connected to the main vent stack to maintain proper drainage and prevent water traps from being siphoned.
- Shower and Tub Installation:
-
- Install a shower pan or bathtub correctly to avoid leaks. Use waterproof membranes or liners as needed.
- Ensure the drain is properly connected and sealed.
- Waterproofing: Particularly important in the shower area, waterproofing prevents water damage to walls and floors.
- Fixture Installation: Install faucets, showerheads, and other fixtures according to manufacturer instructions. Ensure they are securely attached and sealed to prevent leaks.
Toilet Plumbing
-
- Location: The toilet should be positioned where it can easily connect to the existing waste and vent lines. Consider the required clearance around the toilet as per local codes.
-
-
- The toilet should be connected to a 3 or 4-inch drain line.
- Ensure the flange (which connects the toilet to the drainpipe) is properly installed and sealed to prevent leaks and odors.
-
-
- Install a cold water supply line to the toilet.
- Include a shutoff valve near the toilet for easy maintenance.
- Venting: Proper venting is crucial to prevent gurgling and ensure efficient flushing. The toilet vent should be connected to the main vent stack.
-
- Place and secure the toilet on the flange. Use a wax ring or similar sealant to prevent leaks.
- Connect the water supply and test for leaks.
General Tips
- Compliance with Codes: Always adhere to local building codes and regulations.
- Quality Materials: Use high-quality materials to ensure durability and reduce the need for frequent repairs.
- Access for Repairs: Design the plumbing in a way that allows easy access for future repairs and maintenance.
- Professional Assistance: Consider hiring a licensed plumber, especially for complex installations or major renovations.
Remember, proper planning and execution are key to successful bathroom and toilet plumbing. If unsure, consult with a professional to avoid costly mistakes.
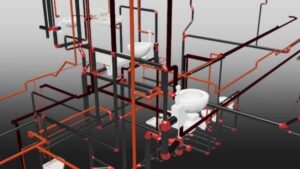
Installing the drain pipes in the bathroom
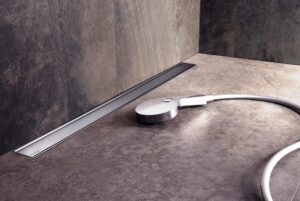
Installing drain pipes in a bathroom is a critical task that needs to be done with precision to ensure proper drainage and to prevent leaks and clogs.
Step-by-step guide to help you with the installation:
- Plan the Layout
- Measure and Plan: Measure the bathroom and plan the layout of the sink, toilet, bathtub, and/or shower. This will determine where the drain pipes need to be installed.
- Drain Sizes: Typically, showers and bathtubs use a 2-inch drain, while sinks and basins usually have a 1.25 or 1.5-inch drain. Toilets require a 3 or 4-inch drain.
- Gather Materials and Tools
- Pipes and Fittings: Get PVC or ABS pipes and fittings (like elbows, T-joints, P-traps, etc.) suitable for bathroom drains.
- Tools: Prepare tools such as a pipe cutter, hacksaw, measuring tape, wrenches, and PVC glue (for PVC pipes).
- Install P-Traps
- Under Each Fixture: Install a P-trap under the sink, bathtub, and shower. This trap is essential to prevent sewer gases from entering the bathroom.
- Alignment: Ensure the P-trap is aligned with the tailpiece of the fixture and the drain line in the floor or wall.
- Connect to the Main Drain Line
- Slope: Pipes should slope towards the main drain line to ensure proper drainage. A standard slope is 1/4 inch per foot.
- Cut and Fit: Cut the pipes to length and dry-fit all components first to ensure proper alignment and fit.
- Glue: Once you’re sure of the fit, glue the connections using PVC or ABS cement, depending on the type of pipes you’re using.
- Install Vent Pipes
- Venting Each Drain: Each fixture should be vented to prevent siphoning of the P-traps and to allow for smooth drainage.
- Connection to Main Vent Stack: Vent pipes should be connected to the main vent stack.
- Test for Leaks
- Water Test: After the installation, run water through each fixture to check for leaks. Address any leaks immediately.
- Seal and Insulate
- Seal Gaps: Seal any gaps where pipes go through walls or floors to prevent moisture and pests.
- Insulate: Consider insulating pipes, especially in unheated areas, to prevent freezing.
- Final Checks
- Compliance: Ensure that your installation complies with local building codes and regulations.
- Accessibility: Ensure that cleanouts and connections are accessible for future maintenance.
Tips for a Successful Installation
- Follow Manufacturer Instructions: For fixtures like sinks and bathtubs, follow the manufacturer’s instructions for drainage requirements.
- Take Your Time: Don’t rush the process. A careful and methodical approach will result in a more reliable installation.
- Professional Help: If you’re unsure or the job is complex, consider hiring a professional plumber.
Proper installation of drain pipes is essential to prevent plumbing issues in the future. Always prioritize accuracy and adherence to building codes.
Which drain pipe material to choose
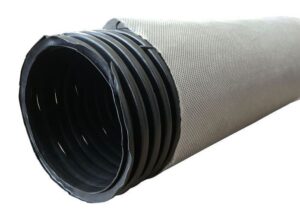
Choosing the right material for drain pipes in your plumbing project is crucial for durability, efficiency, and compliance with local building codes. The most common materials used for drain pipes are PVC, ABS, cast iron, and copper.
Here’s a comparison to help you decide:
1. PVC (Polyvinyl Chloride)
Pros:
- Lightweight and easy to work with.
- Resistant to corrosion and chemicals.
- Relatively inexpensive.
- Widely available.
Cons:
- Can be more susceptible to cracking if exposed to extremely low temperatures.
- Not as durable as metal pipes.
2. ABS (Acrylonitrile Butadiene Styrene)
Pros:
- Similar to PVC in terms of ease of installation and corrosion resistance.
- Better impact resistance, especially in colder temperatures.
Cons:
- Slightly more expensive than PVC.
- Not permitted by all local building codes.
3. Cast Iron
Pros:
- Extremely durable and long-lasting.
- Excellent noise reduction properties for quieter plumbing.
- Ideal for underground installations.
Cons:
- Very heavy, making installation more labor-intensive.
- Prone to rust over time.
- Significantly more expensive than PVC or ABS.
4. Copper
Pros:
- Long-lasting and durable.
- Resistant to corrosion and bacteria growth.
- Can be recycled, making it a more eco-friendly option.
Cons:
- The most expensive option.
- Requires soldering for installation.
- Can corrode in certain soil types.
Factors to Consider
- Local Building Codes: Always check local codes as they may dictate which materials are permissible.
- Budget: PVC and ABS are more budget-friendly compared to copper and cast iron.
- Climate: In areas with extreme cold, ABS might be a better choice than PVC.
- Noise Sensitivity: If pipe noise is a concern, cast iron is a good choice due to its sound-dampening properties.
- Ease of Installation: PVC and ABS are easier for DIY projects due to their lightweight and simple joining process.
- Environmental Impact: If sustainability is a concern, copper is a recyclable option, while PVC and ABS are petroleum-based products.
Conclusion
- For most residential applications, PVC is a popular choice due to its balance of cost, ease of installation, and corrosion resistance.
- ABS is a good alternative, especially in colder climates.
- Choose cast iron for commercial applications, high-end residential installations, or when noise reduction is crucial.
- Copper is ideal for those seeking durability and environmental sustainability, and who have a higher budget.
It’s always recommended to consult with a professional plumber or a local building official to ensure that your choice meets the necessary standards and is appropriate for your specific installation.
A few practical tips to conclude
Here are some practical tips for residential plumbing, particularly focusing on drain pipe installation and maintenance:
Planning and Preparation
- Understand Your Plumbing Layout: Familiarize yourself with the existing plumbing layout in your home. This knowledge is invaluable when making changes or repairs.
- Get the Right Tools and Materials: Ensure you have all the necessary tools and materials before starting. This includes pipes, fittings, a pipe cutter or saw, wrenches, and sealants.
- Adhere to Local Codes: Always comply with local building codes. These are designed for safety and efficiency. If unsure, consult a professional.
Installation Tips
- Measure Twice, Cut Once: Accuracy in measuring and cutting pipes is crucial to prevent waste and ensure a good fit.
- Dry Fit Before Final Installation: Assemble all parts without glue first to check for fit and alignment. This helps identify any issues before making permanent connections.
- Slope Pipes Correctly: Ensure drain pipes have the correct slope (usually a minimum of 1/4 inch per foot) for effective drainage.
- Secure Pipes Firmly: Use clamps or straps to secure pipes to walls or joists to prevent movement that could lead to leaks or damage.
Maintenance and Upkeep
- Regularly Inspect for Leaks: Small leaks can lead to big problems. Regularly check under sinks and around toilets and showers for signs of leaks.
- Prevent Clogs: Be mindful of what goes down your drains. Use drain strainers to catch hair and food particles, and avoid pouring grease down the kitchen sink.
- Know How to Shut Off Water: In case of a major leak, know where the main shut-off valve for your home is located. This can prevent significant water damage.
Safety and Best Practices
- Wear Protective Gear: When working on plumbing, wear gloves and eye protection, especially when cutting pipes or using chemicals.
- Ventilate When Using Chemicals: If you must use chemical drain cleaners or solvents, ensure good ventilation to avoid inhaling fumes.
- Be Cautious with DIY Repairs: While many plumbing tasks can be DIY, don’t hesitate to call a professional for complex issues, especially those involving main lines or gas lines.
Environmental Considerations
- Be Water-Efficient: Consider installing water-saving fixtures like low-flow showerheads and dual-flush toilets to conserve water.
- Eco-Friendly Practices: Dispose of old plumbing materials responsibly, and consider recycling when possible.
Final Tip
- Keep Learning: Plumbing can be complex, so never stop learning. Online tutorials, books, and even local community courses can be excellent resources.
Remember, plumbing requires patience and attention to detail. Taking the time to do it right can save you time and money in the long run.