Office location: Winnipeg
E-mail us: plumberswinnipeg5@gmail.com
24 Hour Service - 7 Days a Week

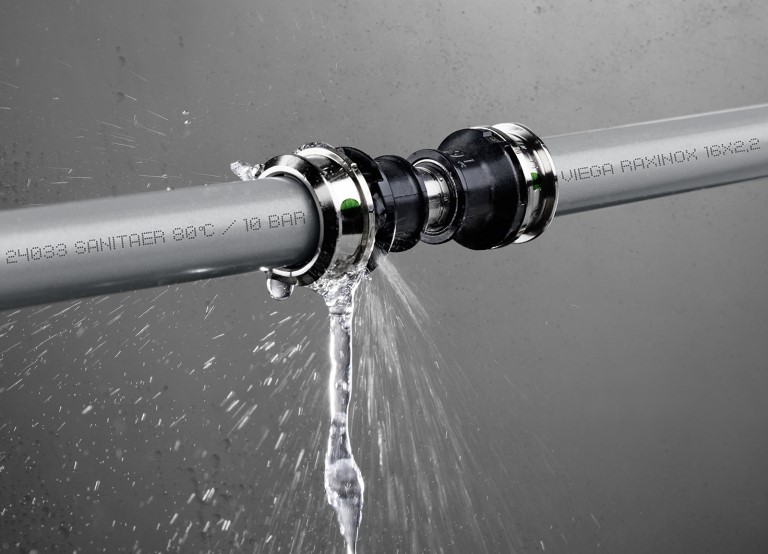
Regular inspections of your water pipes are crucial for identifying potential issues before they escalate into costly and damaging accidents.
Remember that prevention is key, and early detection of plumbing issues can save you from major water pipe accidents and the associated expenses. If you discover any problems during your inspections, don’t hesitate to address them promptly by hiring a professional plumber for repairs or replacements.
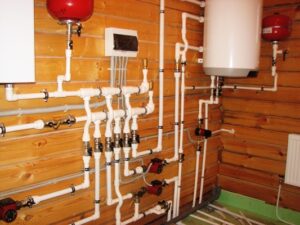
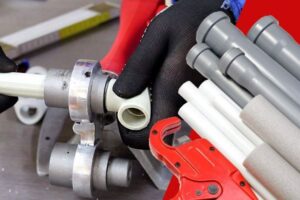
Knowing the types of pipes used in your home’s plumbing system is essential for understanding their strengths, weaknesses, and maintenance needs. Different materials have varying lifespans and are susceptible to different issues.
Knowing the types of pipes in your home can guide you in implementing appropriate maintenance and care practices to prevent water pipe accidents and ensure the longevity of your plumbing system.
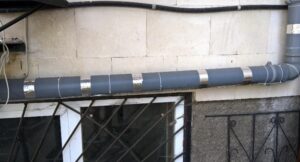
Weatherproofing your water pipes is essential, especially in regions with extreme temperatures or seasonal weather changes. Proper weatherproofing helps protect your pipes from freezing, bursting, and other weather-related damage.
Remember that weatherproofing is not a one-time task; it should be done annually before the cold season begins. Taking these precautions will significantly reduce the risk of frozen and burst pipes, which can cause substantial damage to your home and plumbing system.
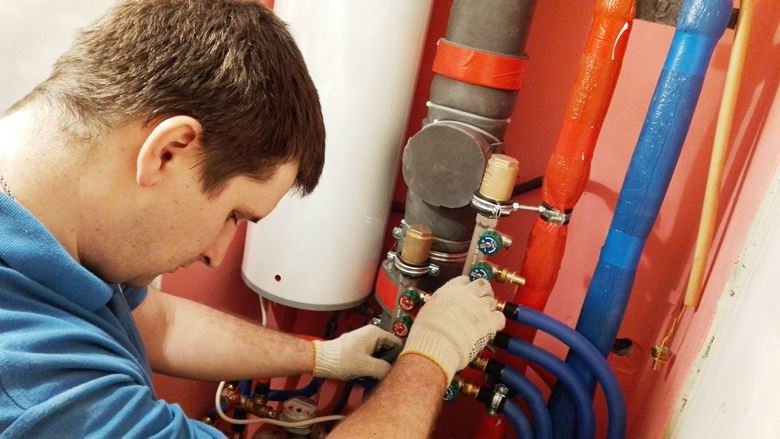
Professional installation of your plumbing system is essential to ensure that everything is correctly set up, safe, and up to code.
Whether you’re building a new home, renovating, or need to replace certain plumbing components, investing in professional installation is a wise decision. Research and choose a reputable plumbing company with a track record of providing reliable and high-quality services. This will help ensure that your plumbing system works efficiently and safely, protecting your home and its occupants from potential water-related accidents and problems.

Avoiding DIY mistakes in plumbing can save you from costly repairs and potential water damage. While some minor plumbing tasks can be handled by homeowners, more complex projects are best left to professionals.
Remember, while DIY plumbing can be rewarding and cost-effective for minor tasks, it’s crucial to recognize when a job requires professional expertise. For complex installations, repairs, or when dealing with the main plumbing lines, it’s best to call a licensed plumber to ensure the job is done correctly and safely.

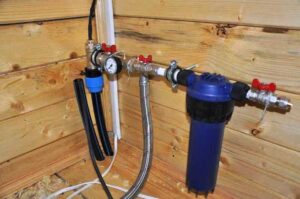
Monitoring water pressure in your home is essential for maintaining a healthy and efficient plumbing system. Both low and high water pressure can cause problems, so it’s crucial to keep an eye on it.
By monitoring your home’s water pressure regularly, you can catch any abnormalities early on and take appropriate measures to prevent potential plumbing accidents and damage. If you’re uncertain about your home’s water pressure or if you suspect a problem, it’s best to consult a professional plumber for a comprehensive evaluation.
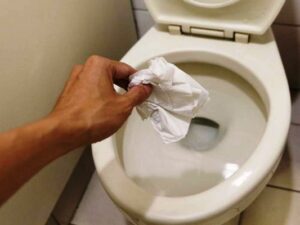
Being mindful of what you flush down the toilet or drain is crucial for maintaining a healthy plumbing system and preventing clogs and blockages. Certain items should never be flushed or drained as they can cause serious plumbing issues, both in your home’s internal pipes and in the public sewer system.
Proper disposal of these items is essential to prevent plumbing problems, protect the environment, and ensure the smooth functioning of wastewater treatment facilities. Dispose of non-flushable items in the trash, and if you’re uncertain about the proper disposal of certain items, check with your local waste management or sanitation department. By being mindful of what you flush or drain, you can avoid costly and inconvenient plumbing issues in your home.
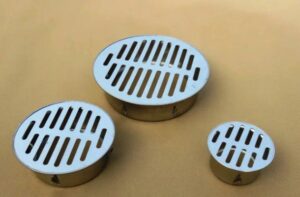
Using drain screens or drain catchers is a simple yet effective way to prevent debris, hair, and other unwanted items from going down the drain and causing clogs. Drain screens are small devices placed over the drain opening to catch solids while still allowing water to pass through. They are available at most hardware stores and come in various sizes to fit different types of drains.
Drain screens are a cost-effective and easy-to-implement solution to prevent clogs and maintain a healthy plumbing system in your home. They are particularly beneficial in areas where hair and other debris are likely to accumulate, such as in bathroom sinks and showers. By using drain screens, you can reduce the need for expensive plumbing repairs and keep your drains flowing smoothly.

Educating household members about responsible water usage and proper plumbing practices is essential for maintaining a well-functioning plumbing system, conserving water, and preventing plumbing accidents.
Regularly reinforce these teachings and lead by example to instill responsible water usage and proper plumbing practices in your household. When everyone is informed and involved, you can collectively maintain a well-maintained and efficient plumbing system while contributing to water conservation efforts.
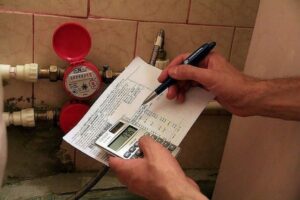
Monitoring your water bills is an important aspect of responsible homeownership. It can help you track your water usage, detect potential issues, and identify any changes in consumption that may indicate leaks or inefficiencies.
Monitoring your water bills can help you be proactive in water conservation and plumbing maintenance. By staying attentive to your consumption patterns and promptly addressing any issues, you can ensure an efficient plumbing system, reduce water waste, and keep your utility costs under control.

Winter preparations are crucial to protect your home and plumbing system from the potential hazards of cold temperatures and freezing conditions.
By taking these winter preparations seriously, you can minimize the risk of frozen and burst pipes, protect your home from water damage, and ensure the efficiency of your plumbing system throughout the cold season.
Knowing the location of the emergency shut-off valve for your home’s water supply is crucial in case of a plumbing emergency or a significant water leak. The shut-off valve allows you to quickly stop the flow of water to your entire house, preventing further damage and giving you time to address the issue or call for professional help.
Knowing how to use the emergency shut-off valve is an essential part of being a responsible homeowner. In case of a burst pipe or significant leak, shutting off the water supply promptly can help minimize water damage to your home and belongings.
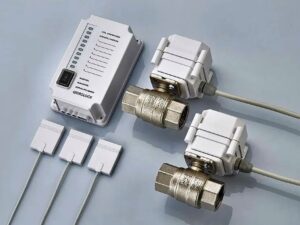
Installing water leak detectors is a proactive measure that can help you quickly identify and address leaks in your home, minimizing potential water damage and associated costs. Water leak detectors are devices that sense the presence of water and sound an alarm or send alerts to your phone when they detect a leak.
Water leak detectors are an excellent investment for early leak detection, especially when you are away from home or during periods of extended absence. They can save you from significant water damage and the hassle of dealing with a major plumbing issue.